Introduction: When “beautification” becomes a disaster
Have you ever had this experience: In a hurry, or just wanting to try a new look, you’ve hurriedly grabbed a curling iron. Everything seems to be going smoothly until you’re about to release the iron— and your hair gets stuck. The iron won’t budge, and your heart leaps into your throat. Panic sets in, terrified that if you’re not careful, you’ll say goodbye to your entire lock of hair.
At that moment, your mind may be filled with despair. But don’t worry, this doesn’t mean your styling journey is over. This article will provide you with a simple and effective emergency self-help plan, allowing you to remain calm and minimize the damage when faced with this “hair crisis.”
Why does hair get tangled?

Before we address the problem, let’s first understand how it occurs.
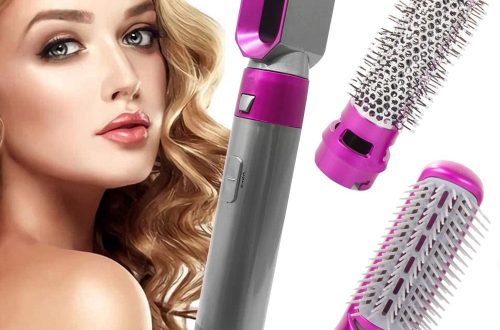
Curling irons, especially automatic ones, typically have an internal rotating mechanism designed to evenly wind your hair around the heated barrel. As your hair is drawn in, it forms a tight spiral along the surface of the barrel. If the curling iron isn’t done correctly—if too much hair is drawn in at once, if your hair gets tangled, or if the iron isn’t aligned correctly—then the hair can become stuck in a knot inside the barrel.
In this case, don’t pull hard ! Pulling forcefully will only tangle the hair tighter and cause unnecessary breakage and damage. Instead, calm down first and follow the steps below.
Emergency Self-Rescue Guide: Only Two Tools Required
To deal with this emergency, you don’t need any complicated hair styling tools. All you need is:
A pointed-tail comb (or any pointed, long tool, such as a chopstick or pen cap).
Patience (this is the most important thing).
Steps:
Unplug the curling iron immediately : Before doing anything else, the first thing to do is unplug the curling iron to stop it from heating up. This will prevent it from causing further damage to your hair and reduce the risk of burns.
Follow the direction of the curl to find the “break” : Observe the direction the hair is wrapped (usually in a spiral). Find the gaps in the arrangement of the curling iron’s teeth or plates.
Use a pointed comb to “untie the knot” : Use the pointed end of the pointed comb to carefully insert it into the gaps between the comb teeth or the hair clip along the direction of the curl. Gently, little by little, loosen the tangled hair outwards.
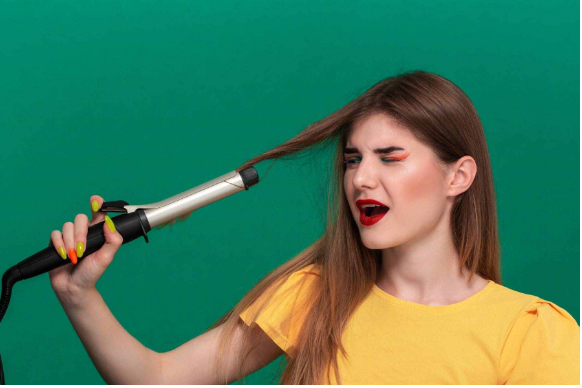
Detangle in sections : Don’t try to remove all the hair at once. Start with the most tangled areas and work in small sections. As you remove each small section, use your free hand to gently pull it away to make room for further work.
Patience is key : This process may take some time, depending on how tightly your hair is wrapped. Be patient and repeat the above steps until all the hair is loosened and the curling iron can be removed smoothly.
Conclusion: Take precautions before it happens and eliminate “stuck hair” from the source
While you may have some self-help tips, the best way is to prevent it before it happens. To avoid your next hair crisis, remember the following:
The sections should be small : Don’t be greedy, only curl a small section of hair at a time to ensure that each section of hair can be heated evenly and reduce the risk of hair getting stuck.
Keep your hair smooth : Before curling, comb your hair to remove any tangles.
Find the best angle : Hold the curling iron perpendicular to your hair strands and slowly curl your hair in to avoid tangles caused by an awkward angle.
By mastering these little tricks, you can not only deal with emergencies easily, but also enjoy the fun of curly hair without having to worry about the “life and death” of your hair.
Do you have any other curling tips or “Aha!” moments? Share your stories in the comments!