Introduction: Upgrading your appearance starts with a perfect curly hair
Have you ever been captivated by the effortlessly chic curls you see on social media? From languid French waves to playful, playful wavy waves, a perfectly curly hairstyle instantly elevates your vibe. So, excitedly, you buy a curling iron, only to find the reality is vastly different from your imagination: your hair becomes frizzy, your style doesn’t last, and you even burn your ears…
Don’t despair; these struggles are common to almost every beginner curling their hair. Instead of putting your curling iron away, take a few minutes to understand the science behind it. This article will address all common curling iron issues, from hair damage and difficulty to styling durability and features . We’ll provide a complete solution to help you seamlessly transition from a clumsy curler to a masterful styler.
Avoid the first “minefield”: Why does my hair become more and more “dry” as it gets curlier?
Our first complaint about curling irons is usually the damage they cause to our hair, leaving it looking like a pile of dry straw with no shine after every style.
The principle behind this: Traditional curling irons use high temperatures to alter the hydrogen bonds in hair. If the temperature isn’t precisely controlled, the continued high temperatures can damage the hair’s outermost cuticles (which protect the hair’s inner structure like tiles), leading to a loss of moisture and nutrients, ultimately leaving hair dry and frizzy.
Solution:
Choose a curling iron with “smart temperature control”: The ideal curling iron shouldn’t have just one or two temperature settings, but should offer precise temperature control tailored to your hair type. Some high-end products, like the Dyson Airwrap, even monitor the temperature dozens of times per second through built-in sensors, essentially preventing overheating damage.
Don’t forget heat protection: Using a heat-protecting spray or hair oil before styling can create a protective film on your hair, effectively reducing heat damage. It’s like putting on oven gloves before working in the kitchen—a simple but crucial step.
Avoid the second “minefield”: Why am I rolling like a “car accident scene”?
The second most common complaint is the difficulty of operation. We have all experienced the embarrassing moment when we are fumbling, the angle is wrong, the direction is wrong, and the result is not what we expected.
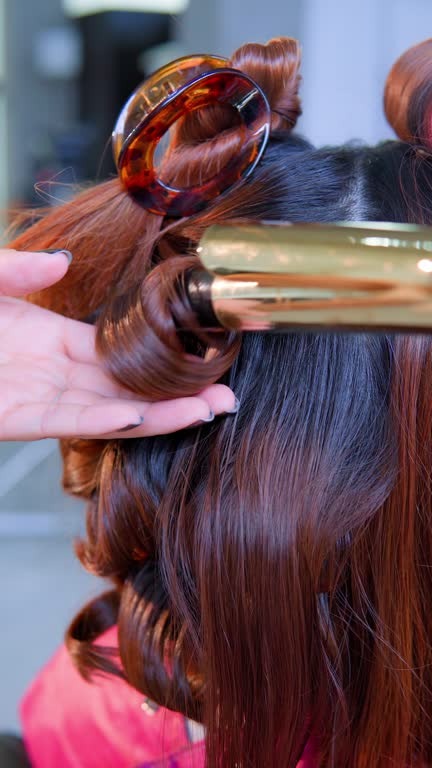
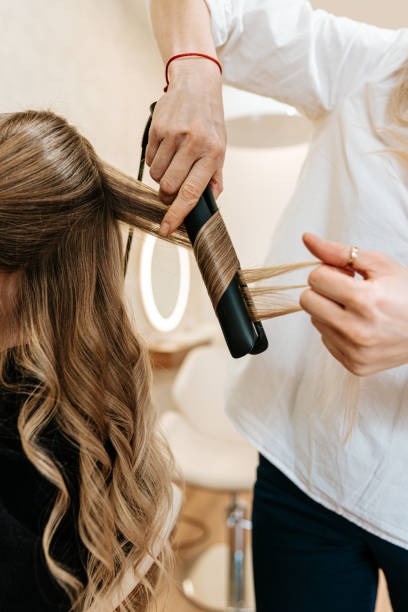
The principle behind this: Traditional curling irons require you to manually wrap your hair around a heated rod, which not only tests your angle and strength, but also requires you to master the duration of the curl. For beginners, this is a “highly challenging” task, which can easily lead to uneven styling and even burns.
Solution:
Invest in an automatic curling iron: If you’re a clumsy hand, an automatic curling iron can be a lifesaver. These irons often have an automatic hair suction feature. Simply place your hair close to the iron, and the iron automatically draws it in and curls it, eliminating the hassle of manual winding and significantly reducing the learning curve. Simply adjust the size of your hair and the iron will do the rest.
Practice, practice: If you’re on a budget and opt for a traditional curling iron, the only way to achieve the desired effect is through practice. Start with simple sections, curling small sections at a time, and gradually develop a feel and rhythm that works for you.
1. Avoid the third “minefield”: Why do my curly hair “collapse” as soon as I go out?
The carefully crafted look is often blown away by a gust of wind after going out, or disappears completely by the afternoon.
The principle behind this: The durability of curls depends not only on the heating temperature but also on the cooling process . When hair is heated, its internal structure loosens; only when it cools down does the new curl structure truly lock in. Many people rush to achieve a perfect curl and manipulate their hair before it cools, causing the curl to quickly disappear.
Solution:
Let your hair cool down naturally: After curling each section of hair, don’t put it down immediately. You can hold the curlers with your hands or use hairpins to temporarily fix them until the hair cools down completely before releasing it.
Use styling products: After you’ve curled your hair, spritz it with a light holding spray or use a hair wax to give your style that extra “lock” so it stays put from morning to night.
2. Avoid the fourth “minefield”: How to use a curling iron to handle all styles?
Many people have this confusion: they want big waves and wool curls, so they end up buying a bunch of curling irons with different diameters, which not only take up space but also waste money.
Solution:
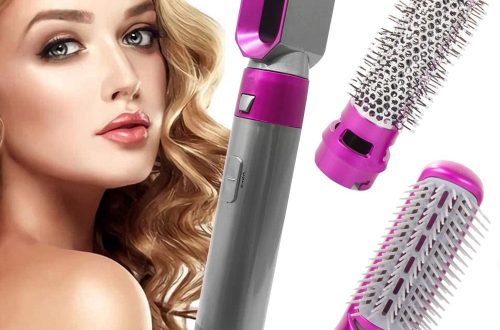
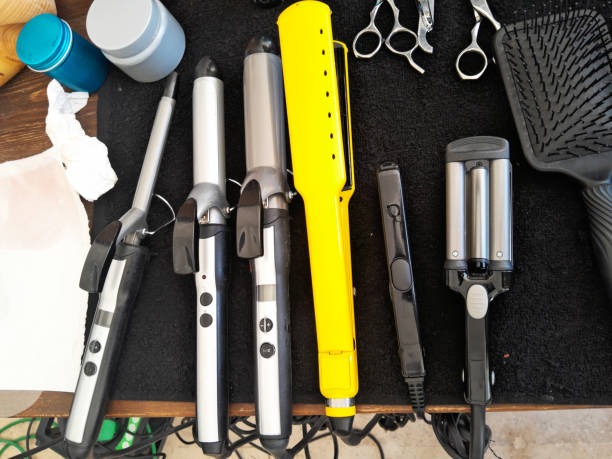
Multifunctional curling iron: Look for curling irons with different barrel attachments, which often allow you to create different curl sizes by changing the barrel. For example, the Dyson Airwrap, with its tapered barrel, allows you to create both tight curls and loose waves with the same iron, truly achieving multiple uses.
Choose a versatile diameter: If you’re only going to buy one, a 32mm or 36mm curling iron is your best bet. This size creates the most natural, everyday waves and has the widest applicability.
Conclusion: Tools are investments, but also self-pleasing
A curling iron shouldn’t be a source of worry, but a powerful tool in your quest for beauty. While there are numerous options on the market, from the cost-effective Traya and Reva to the top-of-the-line Dyson, the most important thing is to find the tool that best suits you and meets your needs.
Remember, investing in a good curling iron is not only about changing your style quickly, but also about saving you time and money on frequent visits to the salon. It also protects your hair and gives you peace of mind on your journey to beauty. After all, nothing boosts your confidence more than healthy, beautiful hair.
What’s your favorite feature of a curling iron? Is it ease of use or hair care? Share your thoughts in the comments.