The sudden burning sensation of a curling iron burning your scalp is enough to make you give up all your fantasies of a perfect hairstyle. You may think that this thing is designed for professional hairstylists, and you can only struggle between beauty and pain again and again.
Don’t worry, this doesn’t mean you can’t use a curling iron. In fact, scalp burns are a common challenge for all beginners. The good news is, it’s completely avoidable. With a few simple techniques and the right tools, you can say goodbye to burns and confidently achieve the curls you want.
First line of defense: Protecting the scalp with a physical barrier
The root cause of scalp burns is that the curling iron is too close to the hair roots. The simplest and most effective way to prevent this is to create a safety barrier between them.
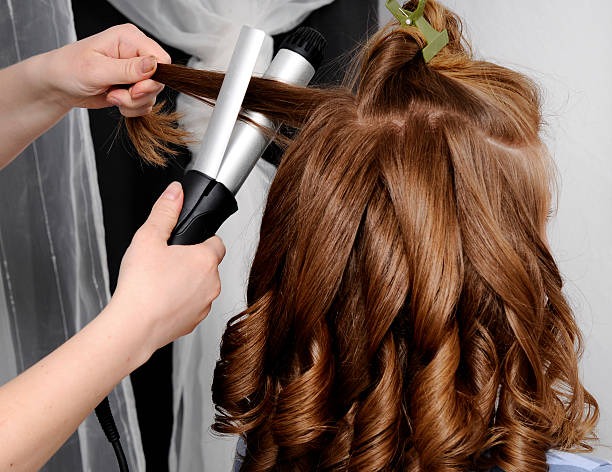
Use a comb or bobby pin as a barrier : This is probably the simplest and most effective technique. As you hold the curling iron close to the roots of your hair, place a fine-tooth comb or bobby pin between it and your scalp. This way, if you accidentally burn your hair, it’s only the comb or bobby pin that gets burned, not your scalp.
Pull up the strands to create a safe space : Before curling, use your free hand to pull the strands of hair you want to curl upward, keeping them at least one to two inches away from your scalp. Start curling from the middle of the strands, rather than directly at the roots. Waiting until you’ve curled the ends before working back to add volume to the roots will not only provide more security but also create a more natural curl.
The second line of defense: change your curling “posture”
In addition to distance, the angle and direction you hold the curling iron can also affect safety. Adjusting your grip can give you better control over the curling iron.
Curl vertically inward or outward : When you’re used to holding the curling iron horizontally, it’s more likely to make close contact with your scalp. Try holding the curling iron vertically to the ground and twisting the curls inward or outward. This angle allows you to more precisely control the position of the curling iron and avoid accidentally hitting your scalp.
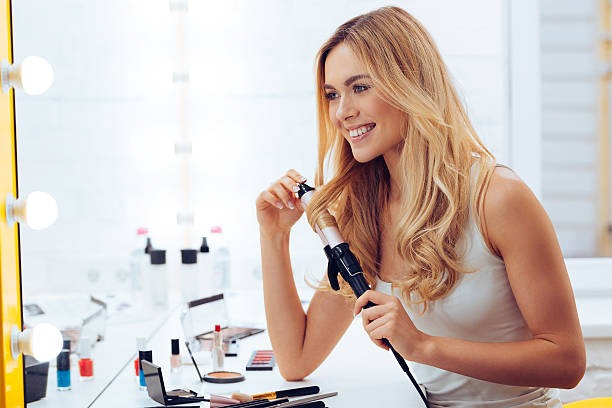
Start curling from the middle, not the roots : Don’t rush and try to curl all your hair from root to tip at once. Start at ear or chin level and work your way toward the ends. This step-by-step process will help you better control your rhythm and reduce the risk of making a mistake.
The third line of defense: Be fully prepared
Any successful styling experience starts with thorough preparation. Protecting your hair and scalp will make the entire process smoother and safer.
Never use a curling iron on wet hair : This is the golden rule when using any heat-based hair tool. The combination of heat and moisture can not only severely damage your hair but can also create steam that can burn your scalp. Always make sure your hair is completely dry .
Use heat protectant spray : Before curling your hair, spray your hair evenly with a layer of heat protectant spray . This is like putting on a fireproof coat for your hair, which can create a protective barrier between the hair and the high temperature, reduce heat damage, and make your hairstyle last longer.
The ultimate solution: choose safer tools for yourself
If you’ve tried all the tips and still feel insecure, it might be time to consider a tool that’s more suitable for beginners.
A curling iron with a cool tip : When choosing a curling iron, be sure to check if it has a cool tip on the front that doesn’t heat up . This feature allows you to use your hands to curl your hair without worrying about getting burned.
Give an automatic curling iron a chance : If you’re still worried about getting burned, an automatic curling iron is your best choice. It automatically draws your hair into the heating chamber, keeping your hands and scalp completely away from the hot parts. This makes it the safest option and a truly “beginner-friendly” tool.
Conclusion : Beauty shouldn’t come at the cost of pain. By changing your habits a little, like using a brush to cushion your curls or starting with the center of your hair, you can significantly increase your safety. Remember, you’re there to create beauty, not take risks.